Newsletter Subscribe
Enter your email address below and subscribe to our newsletter
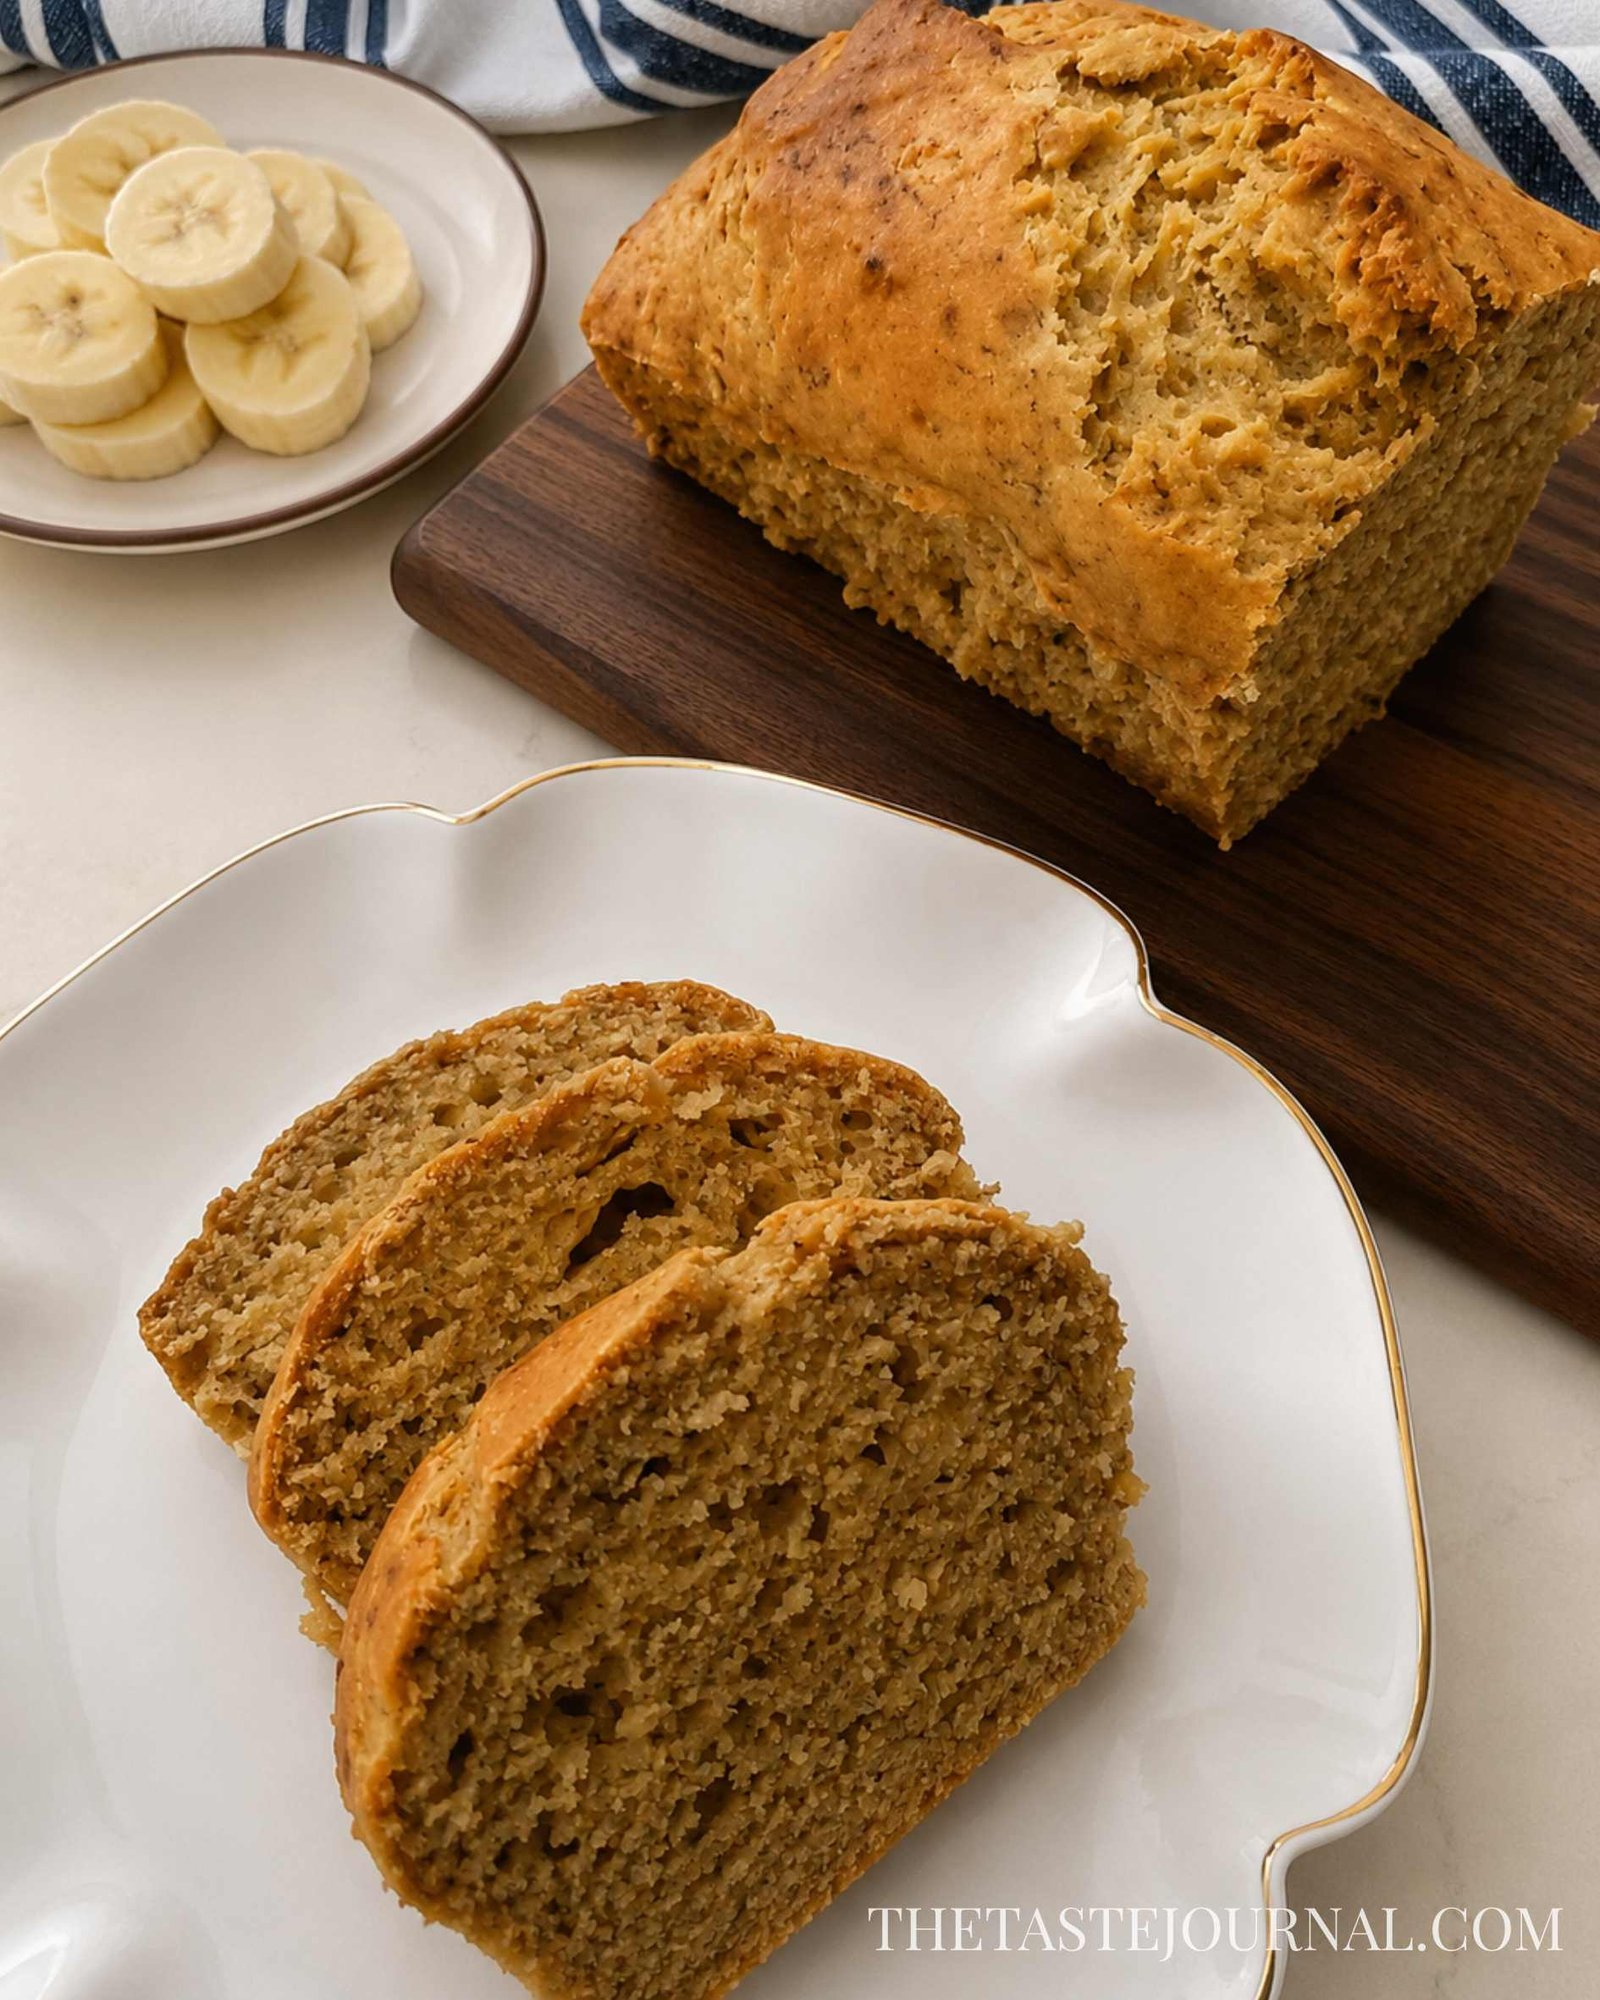
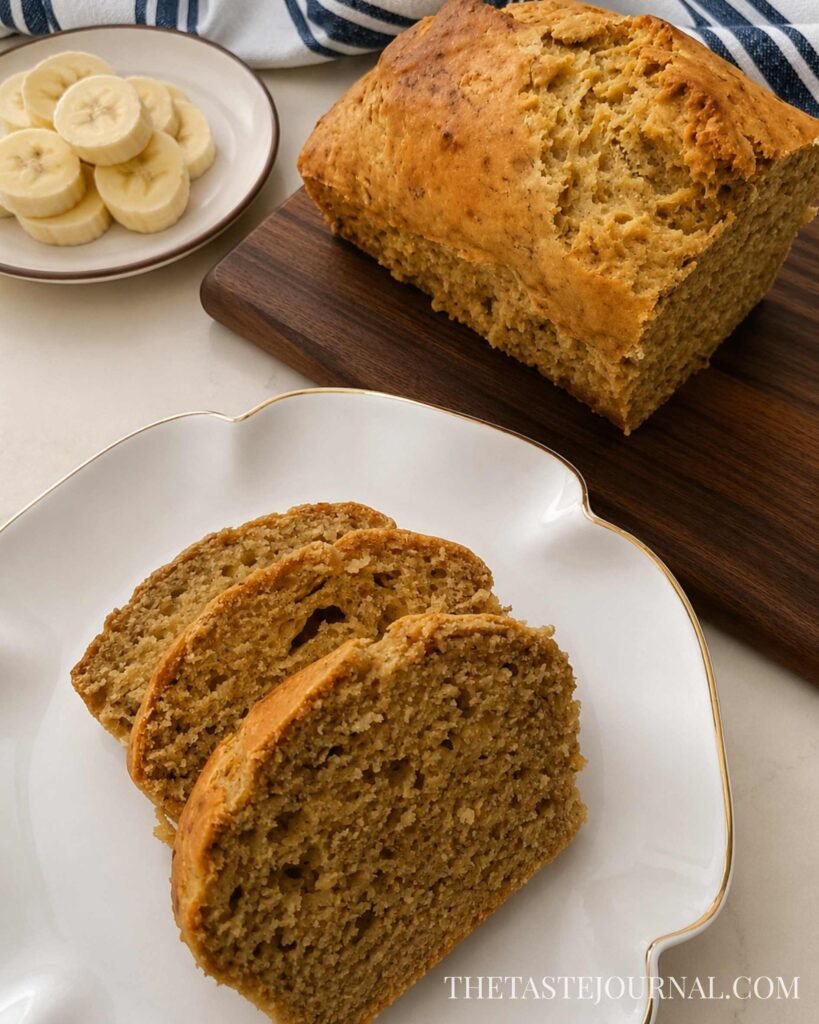
Today, we will be making banana bread. Beyond its nostalgic qualities, banana bread serves as a practical method for utilizing overripe bananas. Many people grew to enjoy the taste, and as a result, it gained prominence among home cooks in the 1930s.
Traditional banana bread recipes used few ingredients, but modern variations often include nuts, spices, raisins, and chocolate chips. Most recipes utilize baking soda for rising, but relying solely on the acidity of overripe bananas may not always work, as some lack sufficient acidity. Interestingly, banana acidity is highest in unripe fruit and decreases as it ripens. One appealing aspect of banana bread is its natural sweetness, allowing for minimal added sugar.
Bananas, All purpose flour, Baking Soda, Baking Powder, Salt, Nutmeg, Cinnamon, Brown Sugar, Butter or canola oil, vanilla extract and eggs, Nuts, Raisins, Chocolate chips
Choose ripe bananas with brown spots for easier mashing in this recipe. All-purpose flour provides structure, while baking soda and baking powder act as leavening agents. Season with salt, nutmeg, and cinnamon for depth. Brown sugar adds rich flavor, and you can use melted butter, canola oil, or a combination to add moisture. Eggs bind the ingredients, and vanilla adds sweetness. Chopped nuts, raisins, or chocolate chips, with chocolate chips offering a decadent touch.
Preheating is essential for activating the baking powder and soda, ensuring even baking and accurate cooking time. Grease baking trays and loaf pans with butter or use parchment paper; 9×5-inch pans are common.
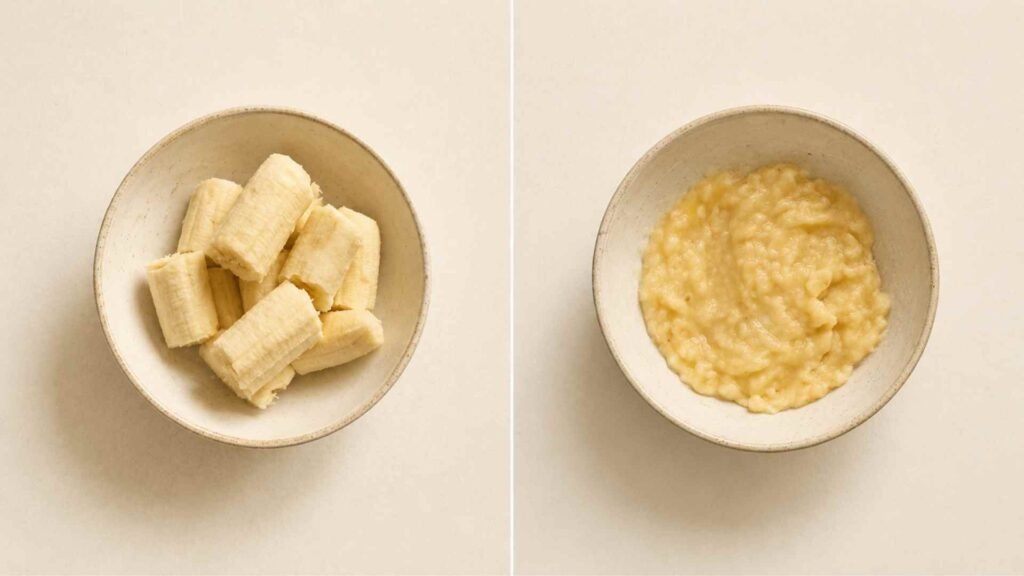
In a large bowl, mash overripe bananas with a fork until smooth, leaving some chunks to prevent dense bread—avoid using a blender or food processor.
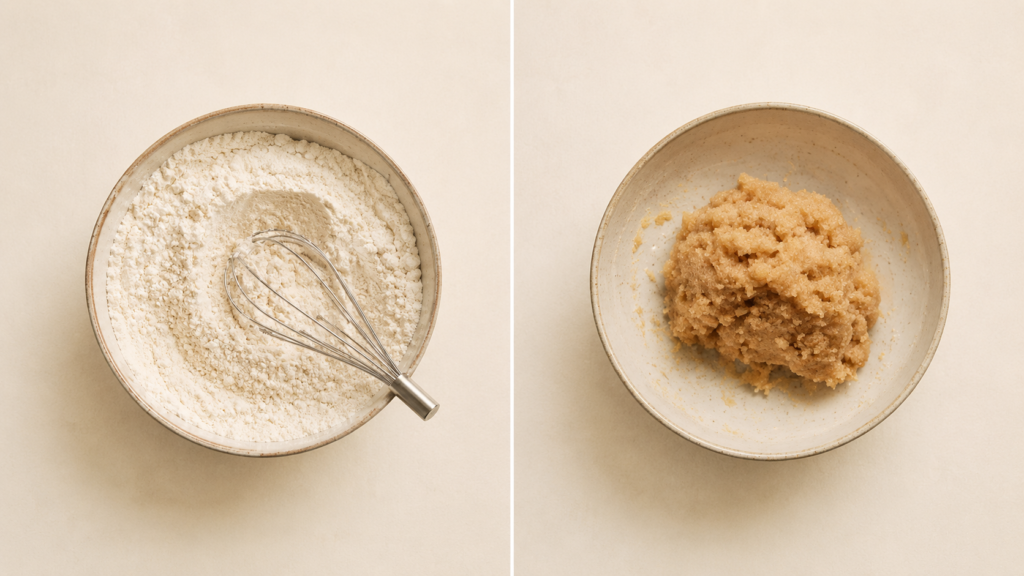
Sift all the dry ingredients into a bowl to aerate the flour and eliminate lumps for a lighter bread texture. Start with all-purpose flour, then add baking powder and baking soda for leavening. Ground cardamom and nutmeg contribute a spicy note. Use a fine-mesh sieve for sifting.
In a large bowl, melt the butter. Whisk in the sugar and eggs until dissolved, then stir in the vanilla extract. Ensure there are no clumps of egg or sugar left.
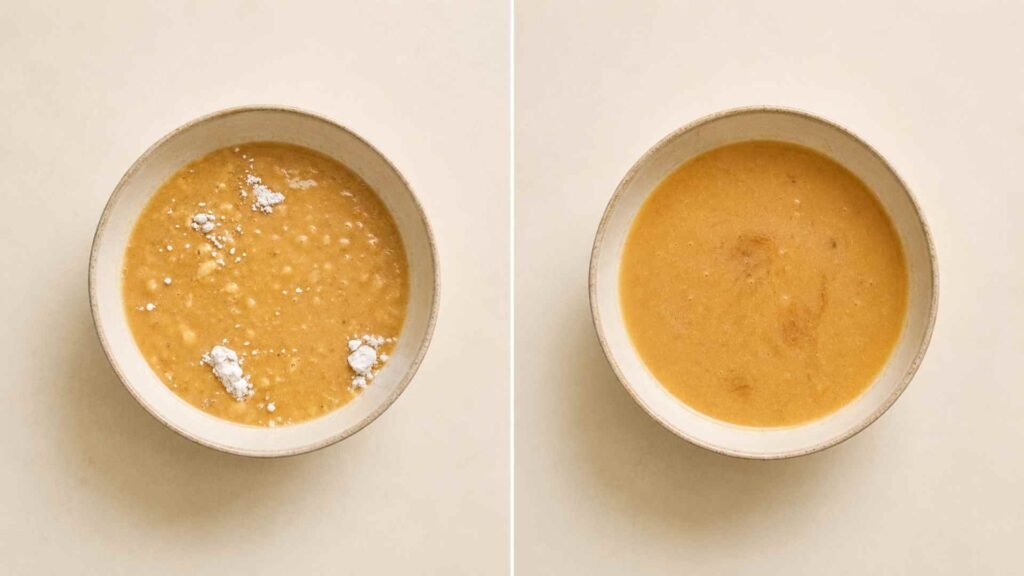
Mix dry and wet ingredients gently 3 to 4 times to prevent dense bread. Avoid hand blenders. If adding nuts or chocolate chips, fold them in.
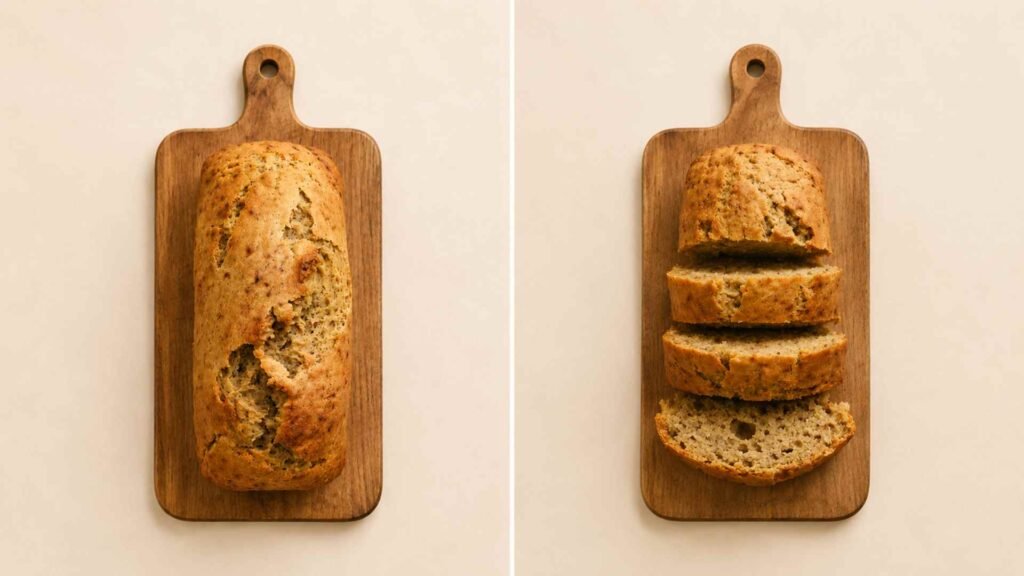
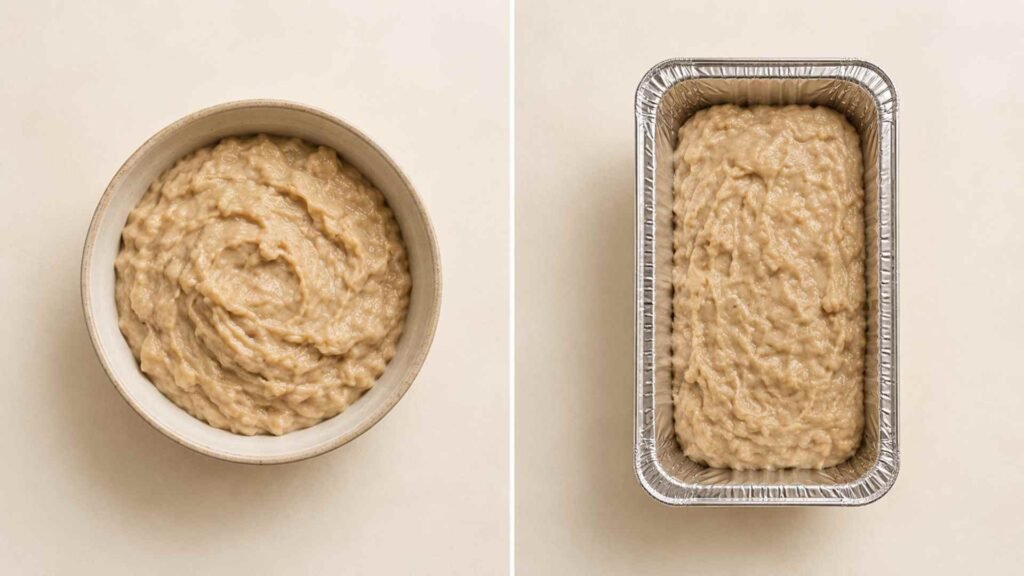
Pour batter into the baking tray and bake for 1 hour and 15 minutes, checking at 50 to 60 minutes. Cover with foil if browning too quickly. Cool on a wire rack until completely cool.
Overripe bananas with brown spots are key for this recipe, adding sweetness and moisture. To ripen them quickly, place in a brown paper bag or bake at 300°F (150°C) for 15 minutes. Enhance your banana bread with spices like nutmeg, cardamom, and cinnamon, and consider adding nuts, dried fruits, or dark chocolate chips. For a gluten-free version, try whole wheat, almond, or oat flour. You can also make muffins using muffin tins for portability. Avoid overmixing the batter to keep it light, and refrain from using mixers for combining wet and dry ingredients.
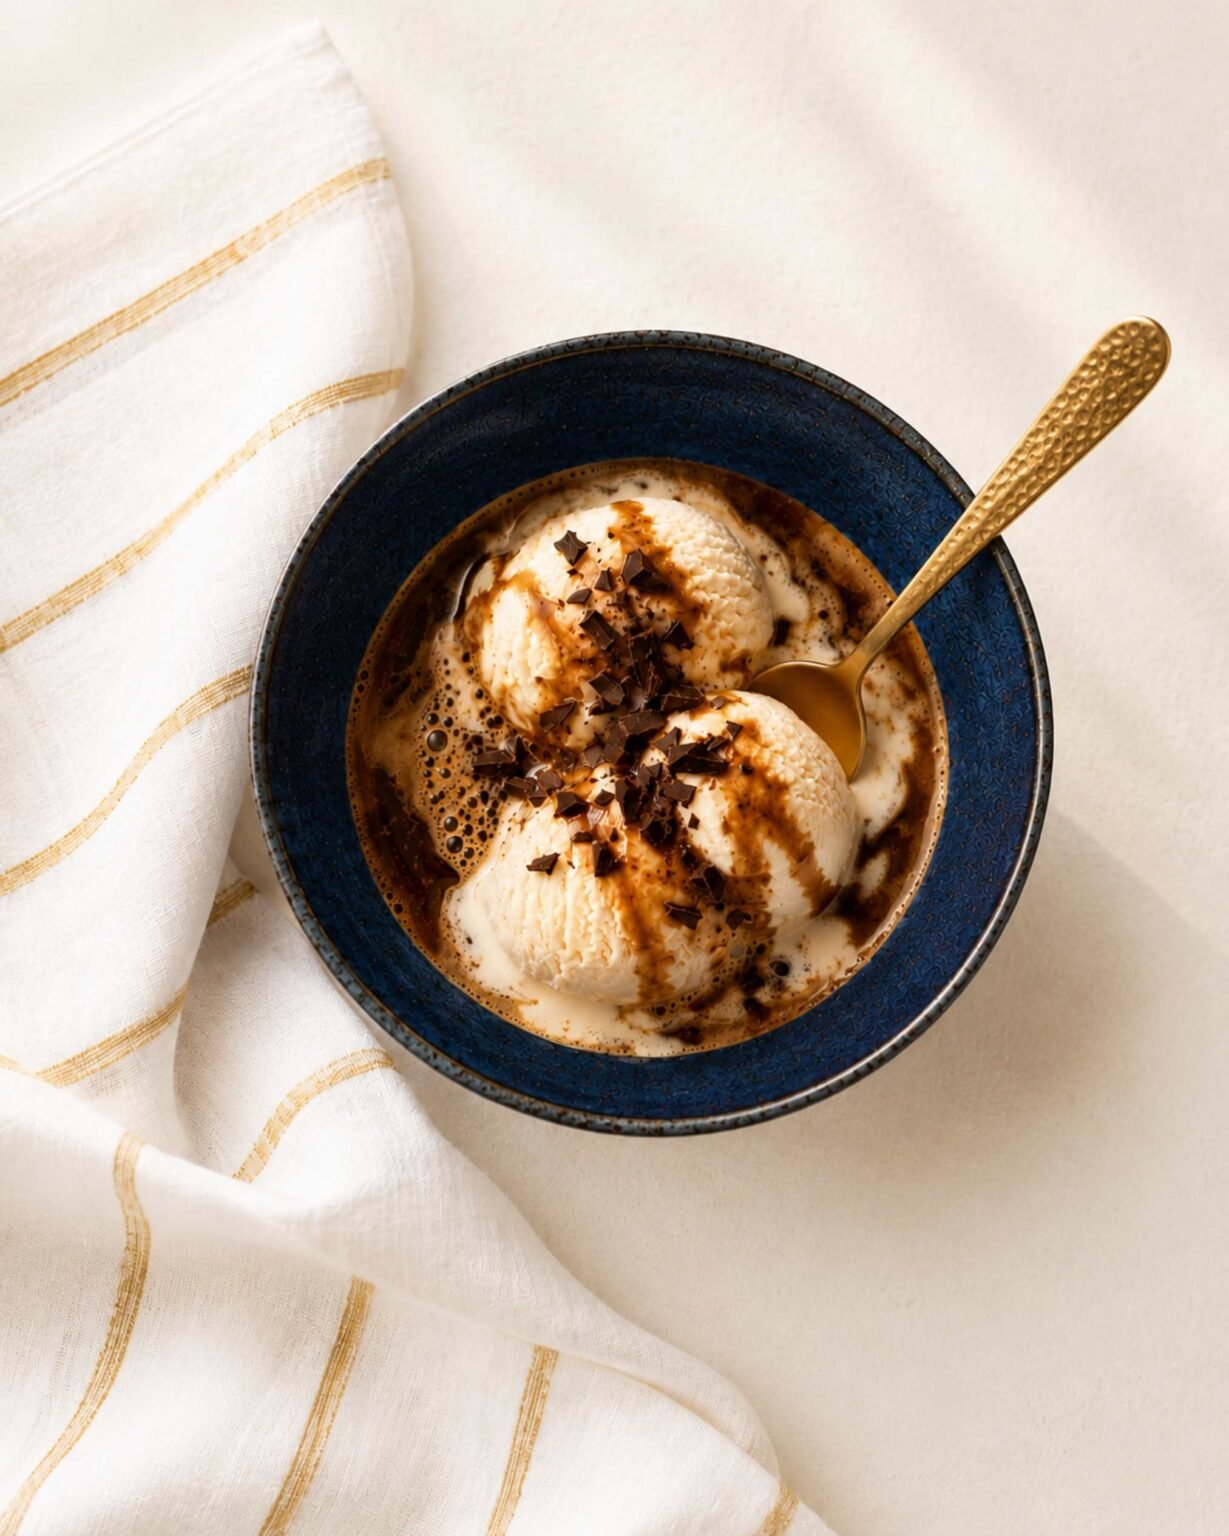
You can enjoy the Bread on its own or serve it with a scoop of vanilla ice cream. Some individuals drizzle honey or syrup with butter on their banana bread. If you loved this recipe, then make sure to check out our Fluffy Pancakes recipe, too.
Store in an airtight container. If you live in a hot climate, you can leave the bread in your fridge. If the weather is cold with snow, you can leave it on the counter top. It should last for two to three days.